Thursday, November 25, 2010

Finished One Storage Cabinet

Yesterday, I finished sanding the workbench storage cabinet. After assembly, the doors did not quite close., but I managed to convince them by using a belt sander.  I just need to go over it one more time with the black primer paint, and it will be done.  The total cost for both of the cabinets is about $55 (not including the paint or glue).  The peg board hooks were another $8 for 50 pieces (which does one cabinet) (Harbor Freight Tools).

Storage Cabinet - Closed
Storage Cabinet - Open
I have all the parts cut for the second one which will be mounted to the right of this one... I hope to get to it in the next month.

The doors are kept closed using cabinet magnets shown below ($0.75 from Home Depot)

Cabinet Latches
 I also bought these handles from Home Depot for $2.00 each.

Cabinet Handles

Completed Circuit Card Assembly (CCA)

Last week I recieved the surface mount PICs from Digi-Key (Part Number: PIC16F688-I/SL).  After soldering the PIC into place, I plugged my 'PICkit 2' into the CCA and powered it up.... SUCCESS!  It worked the first time (meaning, the programmer recognized the chip and I did not let out any of the magic smoke).

Completed CCA

This was my first attempt at soldering a surface mount component.  It was far easier than I anticipated. 

The code, however, is far from complete.  There is a lot of seemingly random movement of the RC Servo.  I have created a few lines of code which add in a 'dead zone' to stop the movement... but I am not getting the full travel of the servo (which should be about 180 degrees).  I think the issue is the conversion between the ADC output value and the servo input value.

In the next week or two I plan on figuring out what is wrong, and hopefully get both servos operational. 

Friday, November 12, 2010

New Addition to the Garage

The CNC router has been placed on my workbench awaiting the motors and other electronics.  Check out the Pro-E model of the garage!

Garage
The CNC Router will be on the right off the workbench with the computer sitting next to it.  I have not yet added the right rack or workbench.

I will hopefully be buying the motors to complete the CNC Router in the coming months.  I plan on buying them from Keling Technology Inc, but as you can see from the below, its a large hit to the wallet.

Keling Order

Finally, I have started to design storage units for the wall, just above the workbench surface (shown in the Pro-E model above).  The front and rear panels of wood will be peg board to hang tools.  Luckily the wood is cheap, so I should be able to build these soon.

Storage Unit

Wednesday, October 27, 2010

CNC Router Construction

Over a few days, I (with the help of my father) managed to complete the mechanical structure of the CNC router.  I purchase 4' x 8' x 3/4" MDF (Medium Density Fiberboard) at Home Depot for about $32.00.  I tried Lowels first... but apparently they do not cut that material in the store (their loss).

Day 1:
Today started at 8am and finished at 7pm.... a long day.  The wood cutting part was easy. The picture below  shows our progress after a few hours.

Main Structure Assembly
The difficult and time consuming part was aligning the precision rod such that the X table can slide freely.  I had a feeling this would be difficult, but it ended up being harder than expected.  The precision rod has a tolerance of +.000 / -.0005 (yes, thats 1/2 of one thow) and the bearings have a tolerance of +.001 / +.002.  This means the rods have to be parallel within about .001".  We 'fixed' the problem by opening up the inside diameter of the bearing with a Dremel (not recommended but effective).

The below image shows the progress at the end of day 1.

Assembly after day one
Day 2:
Today, I spent about two hours making the Z-table (up-down direction).  Using the lessons I learned from the X-table difficulties, I managed to make the bearings slide by taking everything slow and match-drilling when possible.

Full Assembly - Awaiting Rod Engs
YZ Carriage - Y is left and right, Z is up and down

Day 3:
Today, I spent another 2 hours finishing the remaining parts. mostly the rod end holders.  These rod end holders allow me to adjust the rods to align the table.  There are clearance holes in the main structure and tight fitting holes (drilled using Forstner Bits from Harbor Freight ~$10) which hold the rods in place and secure them to the main structure (shown in the image below, the block of wood at the very front of the structure with the four bolts).

Finished XYZ Table
Next, I have to adjust the axes to allow them to move more freely and order the motors and drivers.

Friday, October 8, 2010

Parts on Order!

As of late last night, I placed a $100 order from McMaster Carr.

My McMaster Carr Order

Overall, the cost is not bad given the fact that this is ALL the mechanical components to create the structure of the CNC router (excluding the wood and wood fasteners).

One thing I want to point out.  When shopping on McMaster, don't be too specific.  Although I only need two foot segments of 3/4" rod, look for four or six foot segments and compare the cost.  Check out line item 6.  I was able to find precision rod, with a tolerance of +.0000" / -.0005", which was six feet long but only costs $33!!!  This is a fantastic deal.

Soldering of the Joystick and Power Plug

Before I placed the order of the joystick and power plug, I spent a little time looking at the power plug foot print.  To my horror, I noticed I used the wrong foot print.  Instead of a typical power plug, I added an audio RGA plug.  It was not totally my fault, the library was rather confusing and had the part number I wanted for the wrong part... but either way, I still have the problem.  I decided to buy the RGA plug and wire up the power from a hacked apart RGA wire (not shown).

Top of board with RGA plug as my power port

Bottom of board with mini nuts holding the joystick in place.
My first attempt of soldering the surface mount joystick in place went quite well.  Afterwards, I ohm'ed everything out and everything was working as it should.  The mounting holes were a little off so I decided to remount the component.  Bad idea!  I ended up ripping a pad off of the joystick.  But luckily I have one spare, and now I get to take the broken one apart!

Exploded SparkFun Joystick (PN COM-09426)
The sliding part of the joystick consists of two pieces of plastic, one for X and the other for Y.  These pieces of plastic have the contact on it to touch against the the center PWB.  Simply put, there are two linear potentiometers that make up this joystick.

Here is the link to the joystick on SparkFun's site. Joystick COM-09426

Thursday, September 30, 2010

My first board has arrived!!

I received a confirmation e-mail from BatchPCB, on the 27th of September, alerting me that the board has shipped.  It then arrived today, the 30th.  It only took 19 days to receive the board!  Not bad for $25.86.  I was surprised to find that although I ordered only one board, they sent me two!!  I had actually wanted two but was broke at the time I placed the order.  An additional board would have cost $14.98 (dependent upon area of board).  Maybe I just overlooked that fact when reading through the site.... a mystery....

Board front and back

After about 15 minutes of searching around for the components I had on hand and another 15 minutes of actual soldering, I have a mostly populated board!  (It took longer to take these snazzy pictures)

Mostly Populated Board

I was lazy (mostly broke) and have not yet ordered the finishing parts; joystick and power plug from SparkFun, and the PIC microchip... probably from DigiKey.  I left the crystal out for now because it is close to the surface mount PIC and I didn't want to make soldering harder than it needs to be.  I'll try to get those ordered in the next week.  I really hope this works...

Monday, September 20, 2010

Project 3 - Detailed Design

I have spent a few more hours adding detail to the design.

Full XYZ Router Assembly
YZ Carriage

Most of the parts will probably be purchased from McMaster Carr.  Here is a list of the current parts (not the final parts list)

Bronze Flange Bearing 
6338K437 @ $2.80 each (8 needed) - 1" ID
6338K421 @ $1.01 each (4 needed) - 1/2"ID
Threaded Rod 1/2"-13
90034A033 @ $2.67 / 2' (2 needed)
90034A440 @ $1.89 / 1' (1 needed)
Weld Nut 1/2"-13
90611A500 @ $6.93 / 10 (3 needed)
Lag Screws
91478A628 @ $14.28/100 (? needed)
Precision Rod
To be determined - need 1" and 1/2"
Wood (to be purchased at local hardware store)
amount to be determined

Just with the items listed above, the cost will be about $55.00.  That is without the wood, another $20, and precision rod, about $30 for the X and Y (4 total).  I may have to go with regular bar-stock instead to reduce the cost.  I'm starting to think that 1" rod for the X and Y axes is too expensive (maybe 1/2" is better).

There are still a number of things to figure out, but I made a lot of progress today.  Another day or two like this, and I should be ready to buy the online parts (depending on my cash-flow).

Sunday, September 19, 2010

Project 3 - XYZ Bench-top Router/Mill

Project 2 got me thinking... how am I going to cut the shapes?  I can design cool looking robot legs, but if I can't make them easily, why bother... enter Project 3.  I have been looking at a number of Blogs which discuss rapid prototyping machines and CNC routers and realized that the complexity of the machines and cost is relatively low.  I could probably build the XYZ stage for under $100, and buy the electronics for another $250.  With this tool, I could create any simple or complex shape I can model.

Take a look at the below sites for more building information.
Build Your CNC  a great step by step instructional site, who also sell everything you might need
OnShoulders a great blog which the writer has built his own rapid prototyping machine
HobbyCNC supplier of inexpensive driver electronics and kits
Probotix another supplier of inexpensive driver electronics and kits

After looking at the DIY as well as the turn-key versions, I started to design my own.  The first image uses the rollers shown at Build Your CNC (Rollers).  I was planning on building my own from replacement roller blade bearings, which are about $20 for 16.  In order to do a three axis machine, you would need 8 per axis.

XYZ router with roller bearings

This version has its drawbacks, mainly cost of bearings, and the volume each slide occupies.  In order to get the most out of any sliding system, the opposing bearings should be far apart as possible.  This reduces the amount of angular misalignment.  I found that the ball bearings on angle took up a lot of space.  Also, depending how big you want the bed size to be, there may be a lot of deflection between the bearing, which will add to the inaccuracy.

After looking around in Ace Hardware for a while, I found round bar stock and brass bushings.  This will allow me to design the router using the same methods as the professional machines, without the high cost of the linear bearings.  I will be loosing a bit of accuracy (compared to proper linear bearings) and gaining higher friction, but it should work pretty well.

XYZ router with brass busings

Once I have completed the design and built the first prototype, I will make it 'Open Source'.  Although I would like to sell the plans, legally I can not.  The version of Pro-E I have is only for student use, i.e. not for profit.  Bad for me, Good for you. But maybe I'll add a donate button for all you generous folks out there...

Keep an eye out for a new 'Designs' page.

Project 2 - RoboSpider

While waiting for the board to complete Project 1, I decided to start designing the parts for Project 2.  For this project, I decided to build a spider robot leg, with 3 degrees of freedom.  Using my student version of Pro-E, I modeled the below.

Prototype RoboSpider Leg

The servos shown are going to be Futaba S3003 or a servo of equivalent size.  The blue parts were going to be Delrin by DuPont, until I noticed the cost (I was thinking of using Delrin because it is a great engineering plastic and I wanted to see how workable it is).  I will probably use 1/4" thick wood instead (at least for the first prototype leg).

The plan is to build one simple leg to use to develop the code needed to drive 6 legs.  I am not a programmer and have had zero formal education.  All I know has been learned from a few books but mostly from trial and error.  So there will be a lot of time between the completion of this project and the start of the 6 legged creature.  But, it should be simple geometry, how hard can it be...?

Saturday, September 11, 2010

DIY Workbench and Storage

Five months ago, my wife and I moved into our first house, but the exciting part is that it has a three car garage!  Today, I was finally able to invest some time (and money) setting up my workspace.  I modeled the workbench and storage in Pro-Engineer, a 3D modeling program (a Professional program like SolidWorks).  Here is the rendering of that layout.

Pro-E Rendering of Workbench and Storage

Pretty sexy, ain't it?  The workbench frame is made from industrial shelving I purchase from Lowes.  I got the idea from Craftsman's Gorilla Garage line (which is pretty expensive).  Here is the cheap version...

Actual Workbench and Storage

The shelving and wood cost about $160 (24"x96").  It will cost about another $150 to have the storage section added (the rack to the right).  That will have to wait another month or two.

But on to the workbench surface.  I did a little shopping around to see the prices of workbench tops.  You can find one online for about $90 to $225 depending on the material (24"x96").  Craftsman actually seemed to be one of the cheapest suppliers, take a look - Craftsman .  But, I know I am going to destroy the surface pretty quickly so I wanted a cheaper solution.  I decided to buy a few sheets of Plywood and Particle board and glue them together.  The cement was used to add weight to press the three layers together (there were still a few gaps around the edges.

Gluing In-Progress


Three layers of the workbench


The cost for this work surface was about $40 after two sheets of wood (3/4 of which was used), and a container of wood glue.  After the glue had dried, I sanded the surface and added a nice rounded edge.  I then sealed the wood with a rub-on seal/polyurethane coat.  It ended up looking pretty nice.


Wood surface protection

Completed workbench

Project 1 - Joystick Controlled Servos

If your anything like me, you'll understand the difficulty in completing projects.  I want to do so much, nothing gets done.  I call it Technological Attention Deficit Disorder (TADD).  I have been playing around with electronics for over 4 years now, and I have little to show for it.  (apart from hundreds of dollars worth in parts).

So to rid myself of TADD, I decided to complete my first project.  I have forced myself to start and finish one project before moving on to another.  This first project, I have cleverly named Project 1, consists of controlling two RC servos with a joystick.

As you can see from below (or not), I have a PIC16F877A from Microchip, the big black thing in the center.  Connected to that, there are two potentiometers (POT) (the poor man's joystick) on the far left.  Then there are connections for the two RC servos, on the lower left.  Finally, there are lots of other connections to support the PIC's needs; crystal for timing, power, ground, and the black wires which connect my programmer.


I use the PICKit 2 from Microchip which has three interfaces directly to the PIC and another two for power. This is a great programmer in my opinion (but I am only a novice at programming, so what do I know...).


Now I hope to have some video of the above breadboard assembly in action, but for now, you'll have to bear with my description.  You know when you do something for the first time... and everything goes just as you hoped?  This was not one of those times, it sort of worked.  I guess you could say it was a success, I turned the POT, and the servo rotated....

There was a lot of noise coming from..... somewhere, and the servos were not at all smooth.  I did try to move a few things around, but nothing seemed to help.  I had a look on-line and noticed that when designing printed wiring boards (PWBs) a ground plane is typically added to reduce/eliminate noise.

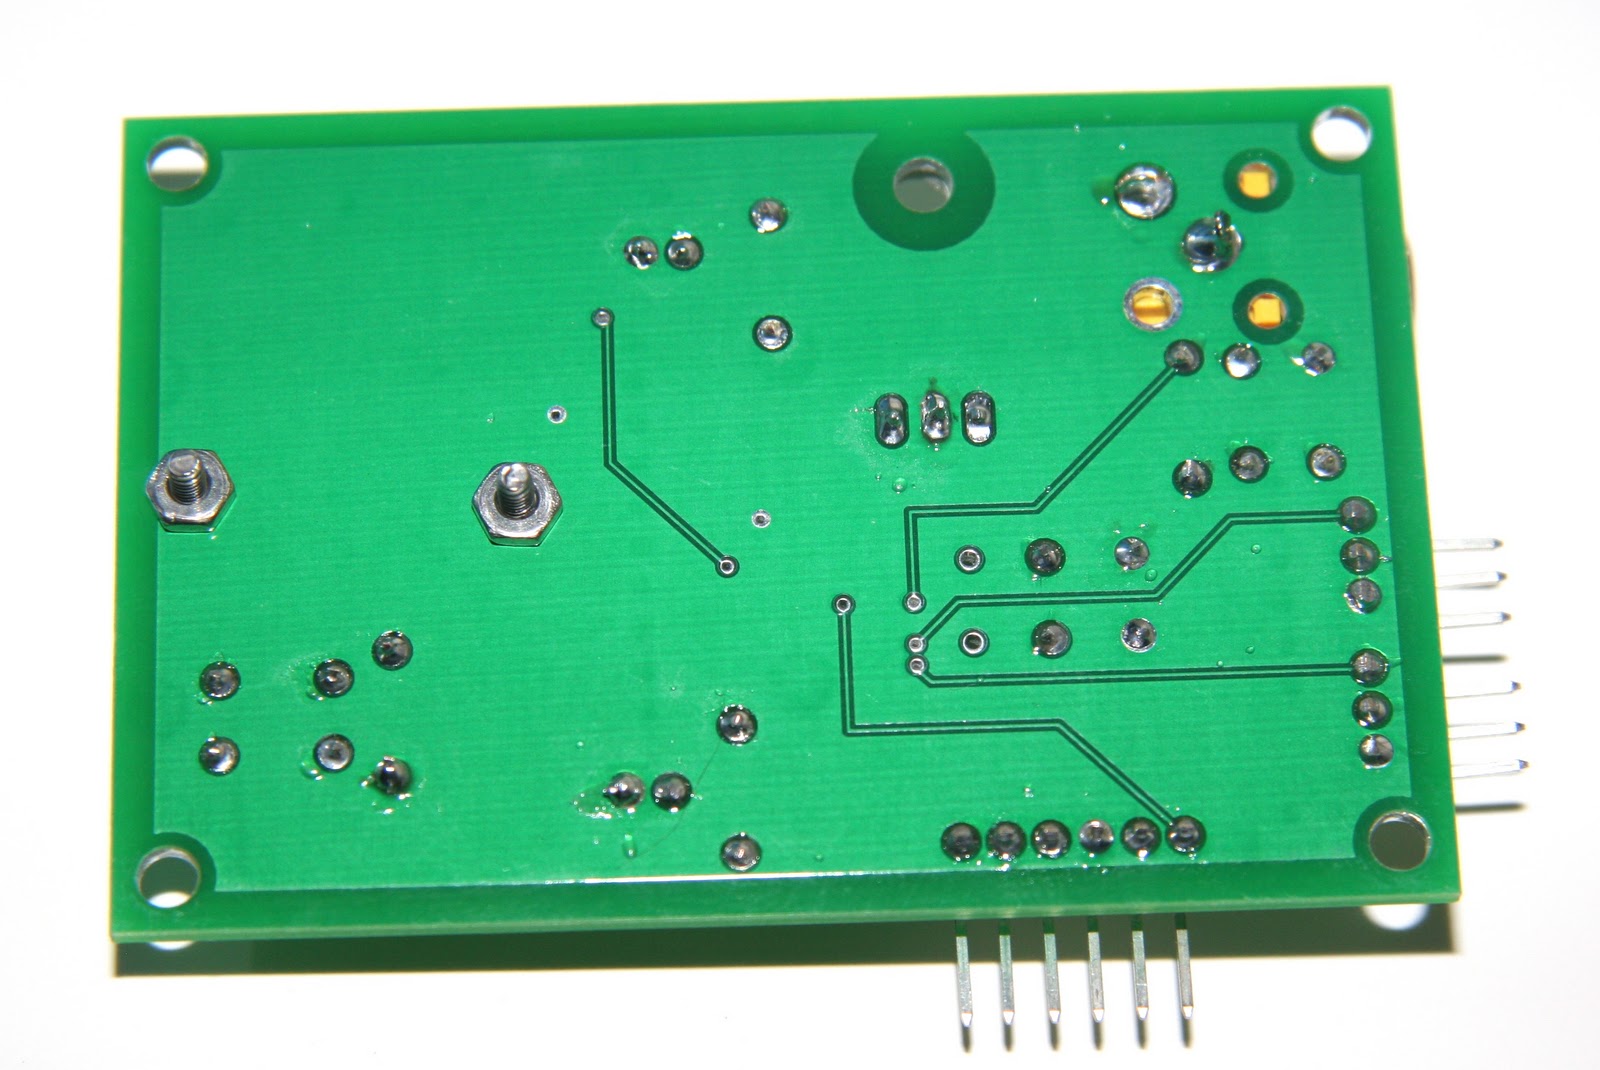
I'm not saying this was the right thing to do, but I jumped into designing the schematic and then layed out a board (for the first time).  So here they are, on order from BatchPCB.  All the parts will be ordered from SparkFun.